While in Japan, I knew when we moved back into our house in the States, I wanted to do a ton of projects to the house. The list still continues to grow, even as I check things off the list. One of the projects was to give the cabinets underneath the sinks a new look.
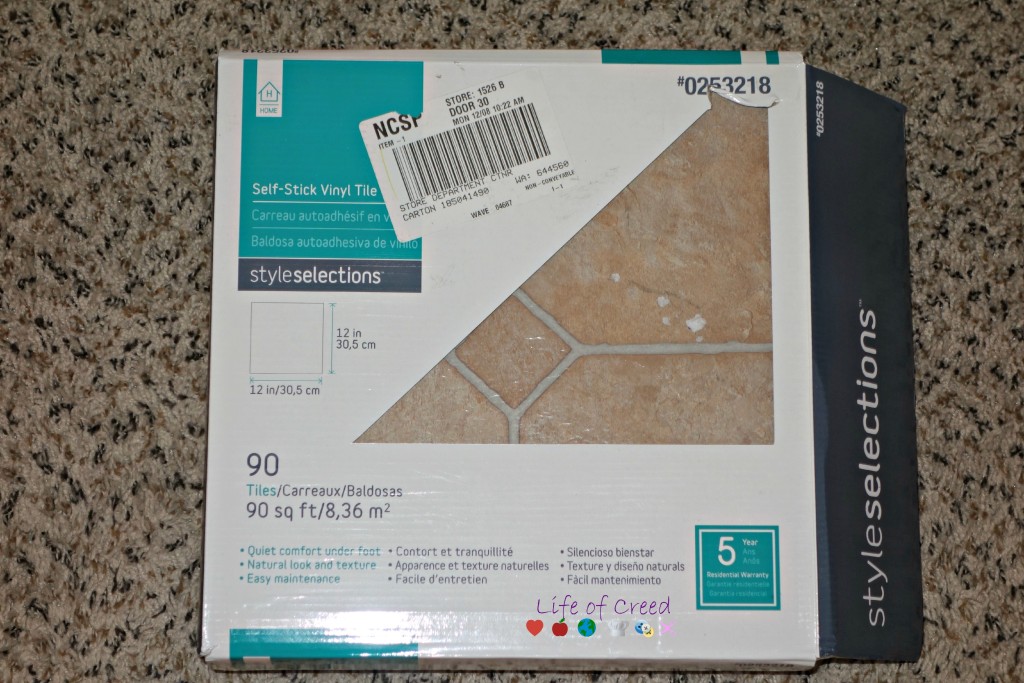
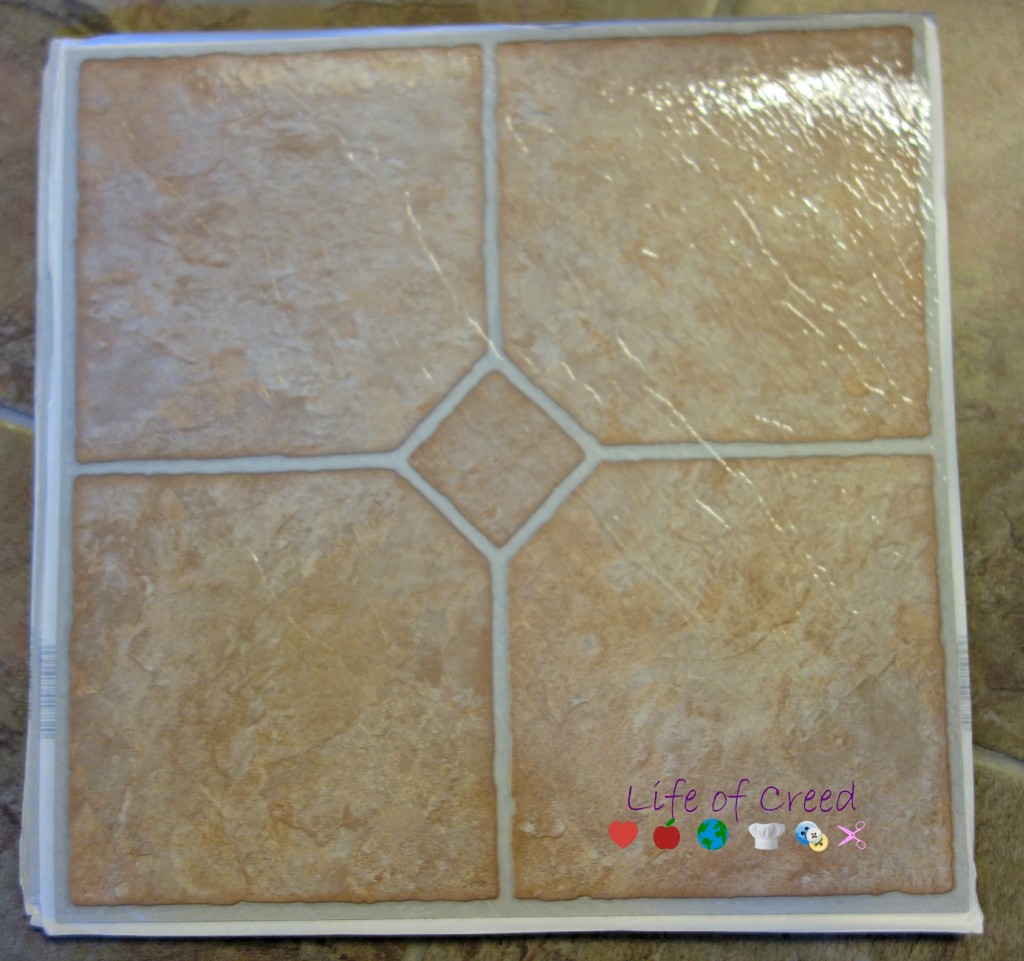
I went to Lowes and picked up a box of self-stick vinyl tile. I was not very picky on the color, so I picked a neutral color. The plan was to do the cabinets in the master bath, kitchen, and second bathroom.
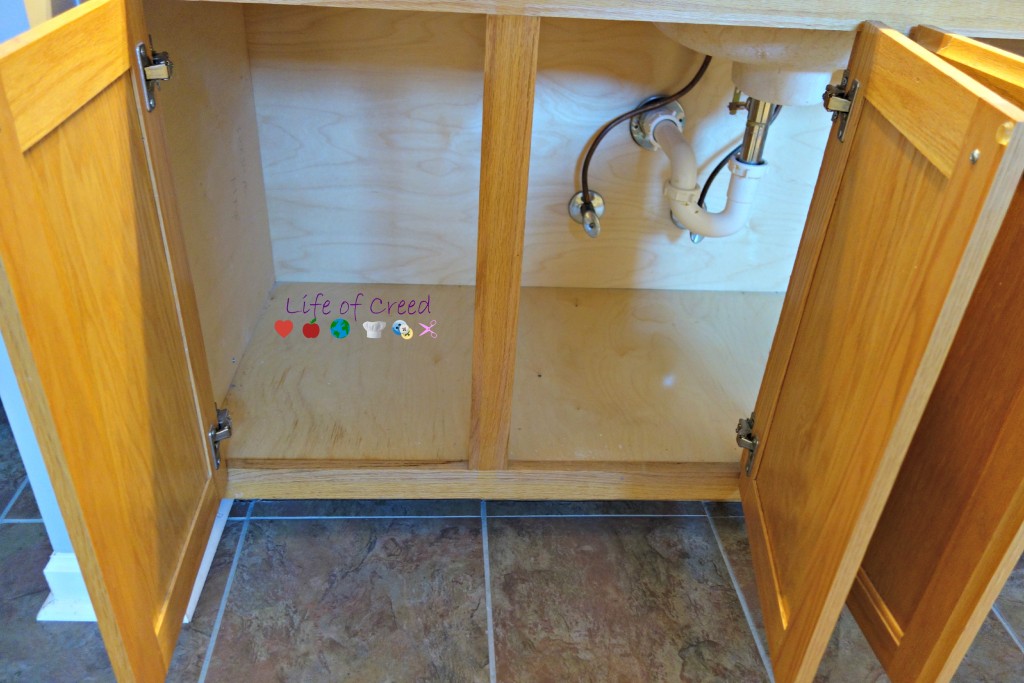
The first step was to make sure the underneath of the cabinets were clean of anything that would hinder the self-stick tiles from sticking.
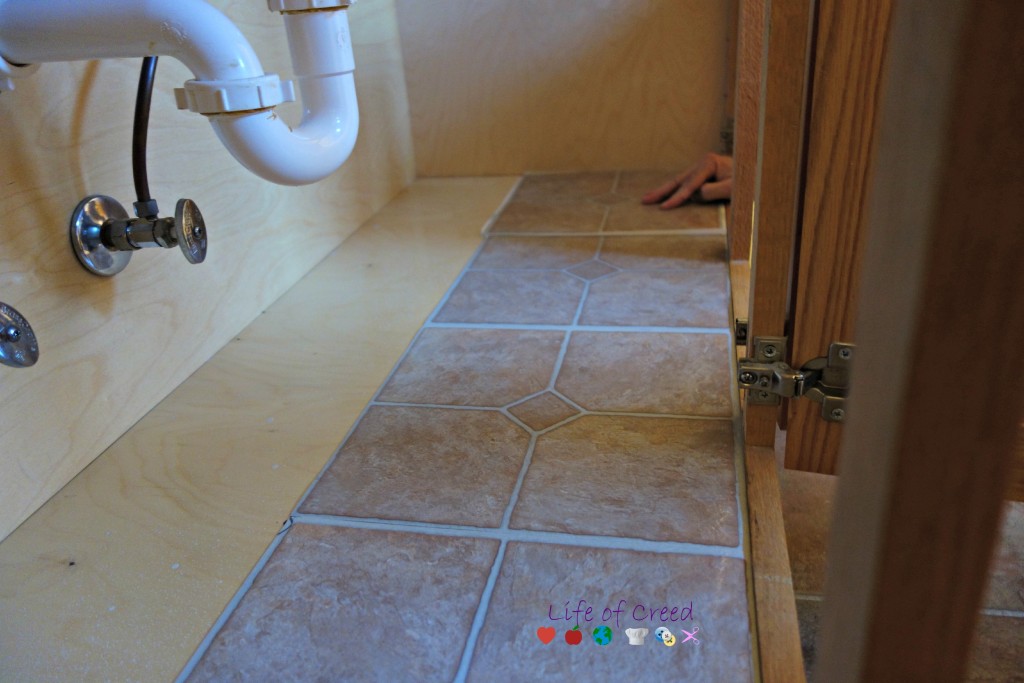
The second step, I laid the tiles down to see how many I would need and to measure the ones that would need to be cut to size, to fit perfectly in the cabinets.
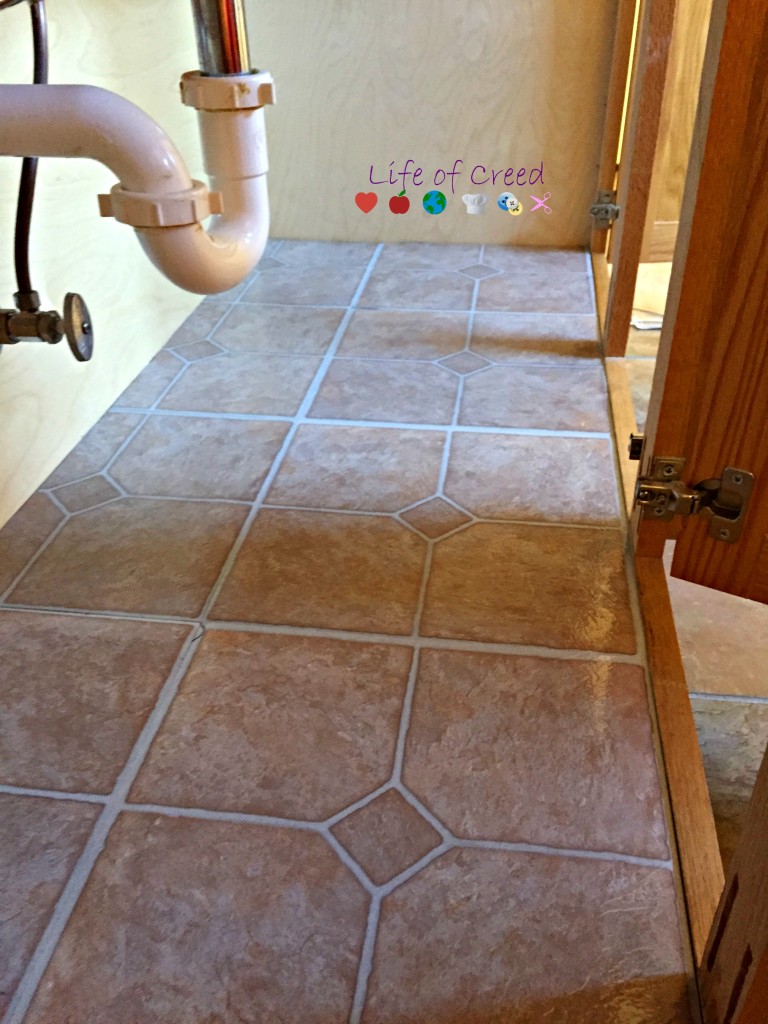
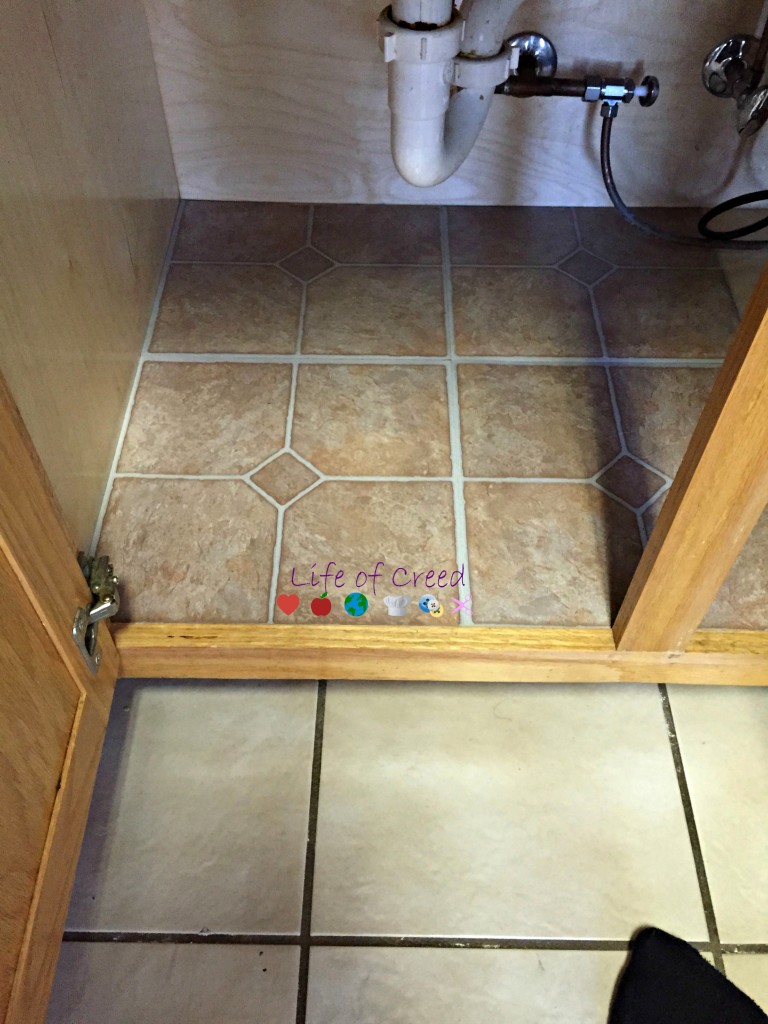
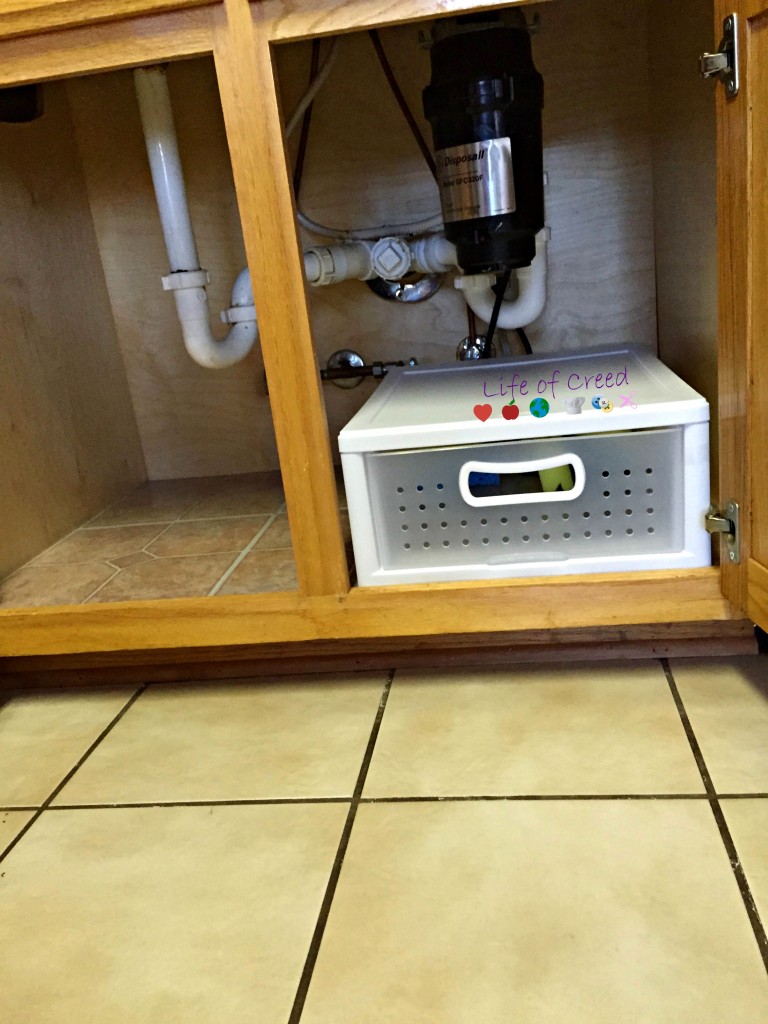
Step three stick tiles down. It’s that easy! It also helps to protect the underneath from any stains from products you may have underneath the sink.
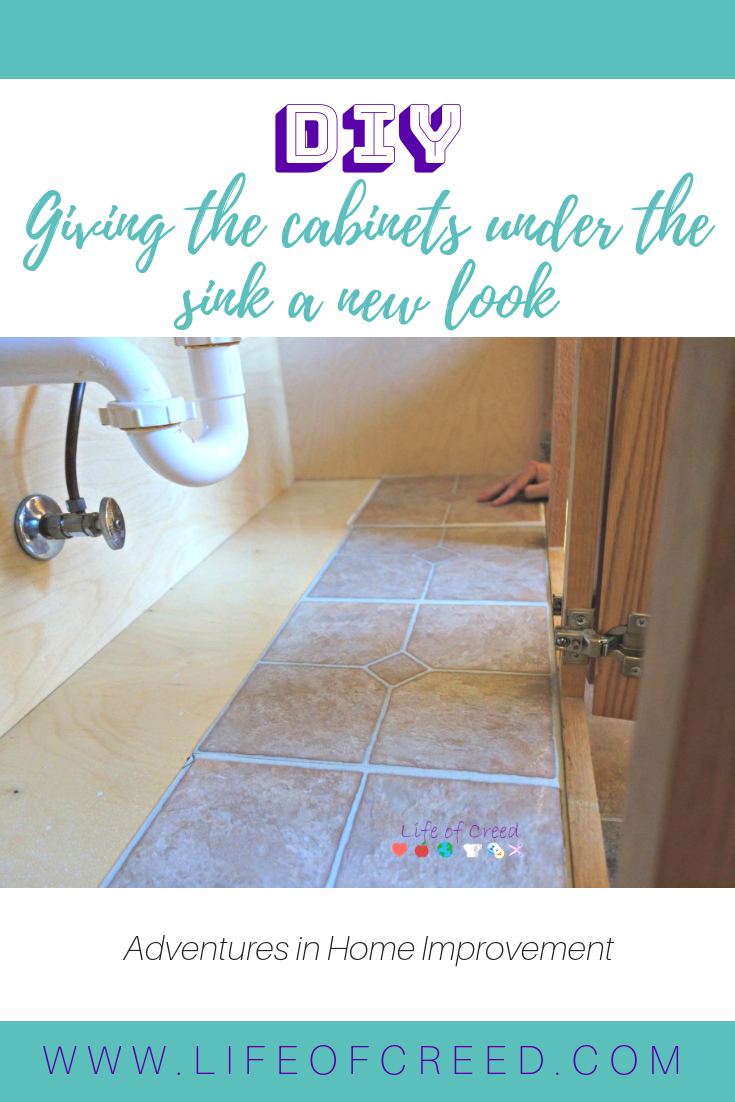
Here are a couple of pictures from the kitchen cabinet under the sink.
Hi, before you go…
Don’t forget to join our Private Facebook page. The FB page is created to share your work, pitch your services and learn from one another.
If you enjoyed our blog we would like to have you join our email list and receive the weekly receive the weekly email of the latest blog post, tips, and exclusive contents, you can join now!
If you found this post helpful, please PIN IT!
About the Author

Jay Creed
Blogger + Content Creator
Jay is the Content Creator + Manager here at Life of Creed. She shares her adventures in homeschooling, traveling, beauty, mental health, fashion, product + music reviews, DIY, and more. She is also a creative coach over at Jay Creed.


That is a great idea. It will save the wood from water spills too.
I am loving this idea and may do it myself! It really dresses it up!
I like how that turned out. It looks really good and will keep it protected. We need to do this to our bathroom cabinets and kitchen, too!