Most people use their attics as storage space. There’s nothing wrong with that. But, as we all know, the space has much more potential.
Think about it. You could use your attic for pretty much anything. For instance, what about creating that games room you always wanted? Or how about turning it into a yoga studio or a gym?
In this post, we take a look at some of the things that you need to do to make your attic suitable for living. It could be the most significant home improvement you ever make!
Step 1: Clean It Out
The first step, obviously, is to clean out your attic. This will free up the space and give you a sense of the condition of the room. Get rid of any old junk or paneling that you no longer need, and remove old insulation. If necessary, use an industrial vacuum to get rid of any dust or debris that is lying around.
If you notice any signs of damage or droppings, you’ll want to call in the pest control experts. The last thing you need is to renovate the space, only to find out that you didn’t deal with your termite or rat problem first.
Step 2: Do Some Wiring
The next step is to get wiring. No matter what you intend to use the room for, you’ll need some sort of electricity supply, particularly if you don’t have skylights.
Hire a professional to install any electrical components. Usually, they will be able to provide you with a suitable wiring plan for your attic.
Doing the work yourself may result in dangerous short circuits and electrical fires. It is not advisable.
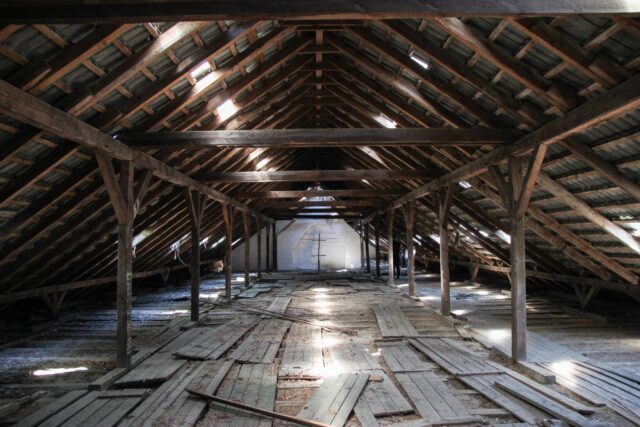
Step 3: Create The Floor
Right now, your attic probably doesn’t have much of a floor. You might have a few boards down, but, mostly, it’s just rafters and plaster.
Building a subfloor is something that you can often do yourself if you have developed your DIY skills. Before you put it down, you’ll want to ensure that you have plenty of insulation in place to stop any annoying footsteps noises from permeating the rest of your home.
Step 4: Add Insulation
Insulating the floor is only part of the task. You’ll also need to insulate the attic roof. If you don’t, the room will always feel much colder than the rest of the house.
Adding insulation is surprisingly easy. You want something that’s vapor-retardant and flexible enough to install. Insert sheets of it into the cavities between the joists and make sure that it sits snugly between them.
Step 5: Install Drywall
Installing drywall is important (unless you’re planning on creating an exposed beam look). Generally, once you’ve hung the drywall, you’ll see your attic conversion taking shape. In some cases, you may need to apply plaster to the gaps before painting. If you don’t install drywall accurately, it can show through the finished paint job.
Once you’ve gone through all these steps, the only thing left to do is decorate and bring in the furniture. Simple!
About the Author
Contributing Author
This article is written by a contributing author.
If you found this post useful, please Pin It!

Hi, before you go…
Don’t forget to join the email list!
Don’t forget to join in on the conversation on social media.![]()
![]()
![]()
![]()
![]()